How to code-sign and notarize an Electron application for macOS
November 19, 2024
Recently, we built NeetoRecord, a loom alternative. The desktop application was built using Electron. In a series of blogs, we capture how we built the desktop application and the challenges we ran into. This blog is part 5 of the blog series. You can also read about part 1, part 2, part 3, part 4, part 6, part 7 part 8 and part 9 .
macOS identifies applications that are not code-signed and notarized as being from unknown publishers and blocks their installation. Code-signing allows macOS to recognize the application's creator. Notarization, an additional step, provides extra credibility and security, ensuring a safer experience for users.
What is code-signing?
Code-signing is the process of generating a unique digital fingerprint of the code using a cryptographic hash function. This fingerprint is combined with a certificate from a trusted Certificate Authority (CA) to create the digital signature. When users download or execute the software, the operating system verifies this signature to confirm its authenticity.
Apple prefers developers to use certificates issued through the Apple Developer Program to sign macOS applications. This is because macOS verifies signatures against Apple's own Certificate Authority. If a third-party certificate is used, macOS might not recognize it as trusted, leading to warnings or blocking the application from running due to Gatekeeper, Apple's security feature.
Enroll in the Apple developer program
We should enroll in the Apple developer program (which costs $99 per year) to create a certificate that we can use to code-sign our application. We can follow this link to know what we need to enroll in the Apple developer program.
Apple certificates
Apple provides two main types of code-signing certificates:
- Developer ID Certificate: Used to sign apps distributed outside the Mac App Store. Apps signed with this can be gatekeeper-approved.
- Mac App Distribution Certificate: Required for submitting apps to the Mac App Store. Apple will re-sign the application after review and approval for distribution on the Mac App Store.
In this blog, we will look into how to code-sign an Electron application using Developer ID Certificate.
Create a Developer ID certificate
To create a Developer ID certificate, we can follow Apple's detailed guide on how to create a Developer ID certificate.
Once we've successfully created the certificate and downloaded the .cer file,
the next step is to convert this file into a .p12 format.
First, we'll need to convert the .cer file into a .pem format. We can do
this using openssl.
openssl x509 -in certificate.cer -inform DER -out certificate.pem -outform PEM
Then, use the .pem file and our private .key to generate the .p12 file.
openssl pkcs12 -export -out certificate.p12 -inkey certificate-private.key -in certificate.pem
When generating the .p12 file, we'll be prompted to set a password. Save this
password in a secure location, as we'll need it later when code-signing the
application.
To use this certificate with our existing GitHub Action workflow to automate the
deployment process, we need to convert this .p12 file into a base64 string.
This is necessary because GitHub doesn't allow uploading files as secrets, but
we can store the base64 string instead.
openssl base64 -in certificate.p12 -out certificate.txt
The command will output the base64 version of the .p12 file into a
certificate.txt file. We can then add the text contents of this file as a
secret in GitHub. Save the base64 string in GitHub secrets with the name
CSC_CONTENT and password as CSC_KEY_PASSWORD
Update Electron build process
To code-sign a macOS app, we just need to pass the certificate and password to
the electron-builder publish command. However,
since we saved our certificate as a base64 string, we need to convert it back to
a .p12 file before publishing.
 - name: Publish releases
    env:
      GH_TOKEN: ${{ secrets.GITHUB_TOKEN }}
      AWS_ACCESS_KEY_ID: ${{secrets.AWS_ACCESS_KEY}}
      AWS_SECRET_ACCESS_KEY: ${{secrets.AWS_SECRET}}
      CSC_CONTENT: ${{ secrets.CSC_CONTENT }}
      CSC_KEY_PASSWORD: ${{ secrets.CSC_KEY_PASSWORD }}
    run: |
      echo "$CSC_CONTENT" | base64 --decode > certificate.p12
      export CSC_LINK="./certificate.p12"
      npm exec electron-builder -- --publish always -mwl
As mentioned above, we first decoded the base64 string back to a
certificate.p12 file. We then set the path to this file as CSC_LINK, which
electron-builder expects.
Great! With everything in place, running this workflow should successfully code-sign our application.
Notarize
Code-signing allows macOS to recognize the application's creator, but this alone is insufficient. Users will still see a warning stating, "macOS cannot verify if the app is free from malware."
To eliminate this warning, we need to notarize our application. Notarization is a security feature introduced by Apple to ensure that macOS applications are safe and free of malicious content. It's an additional layer of security that builds on code-signing. The notarization process involves submitting our app to Apple for automated security checks. Once notarized, macOS will recognize the app as trustworthy, ensuring smooth installation and execution on users' systems, even when downloaded from outside the Mac App Store.
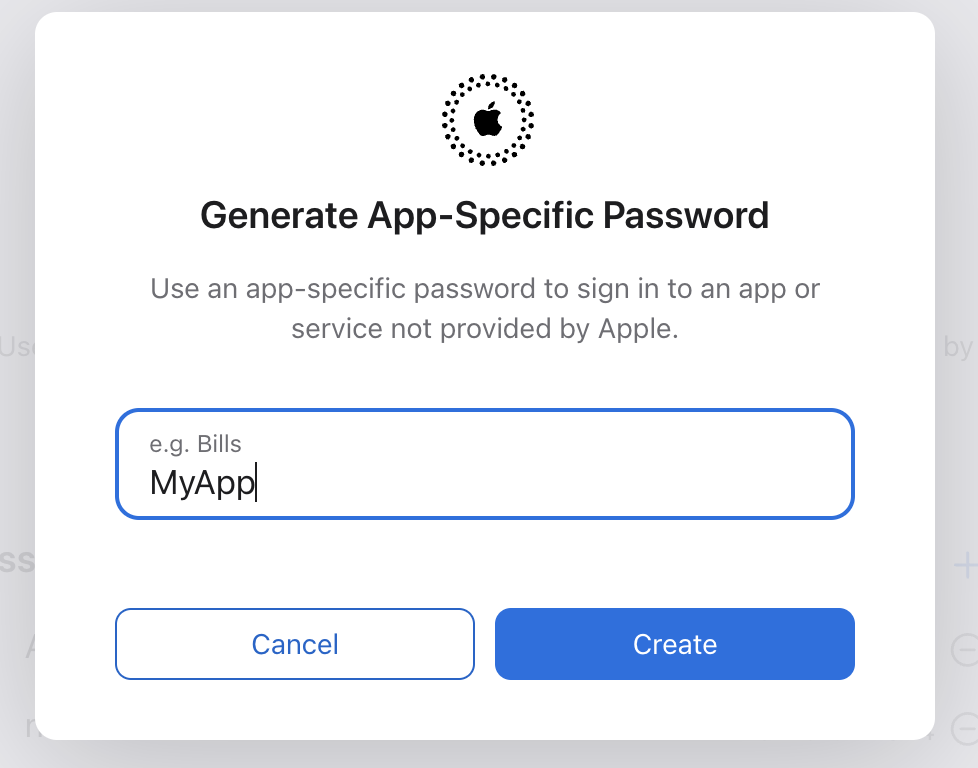
To notarize, we need to create an "App-specific password". To create an App-specific password:
- Sign in to appleid.apple.com
- In the Sign-In and Security section, select App-Specific Passwords.
- Select Generate an app-specific password or select the Add button(+).

- Then give a name for the password and click
Create.
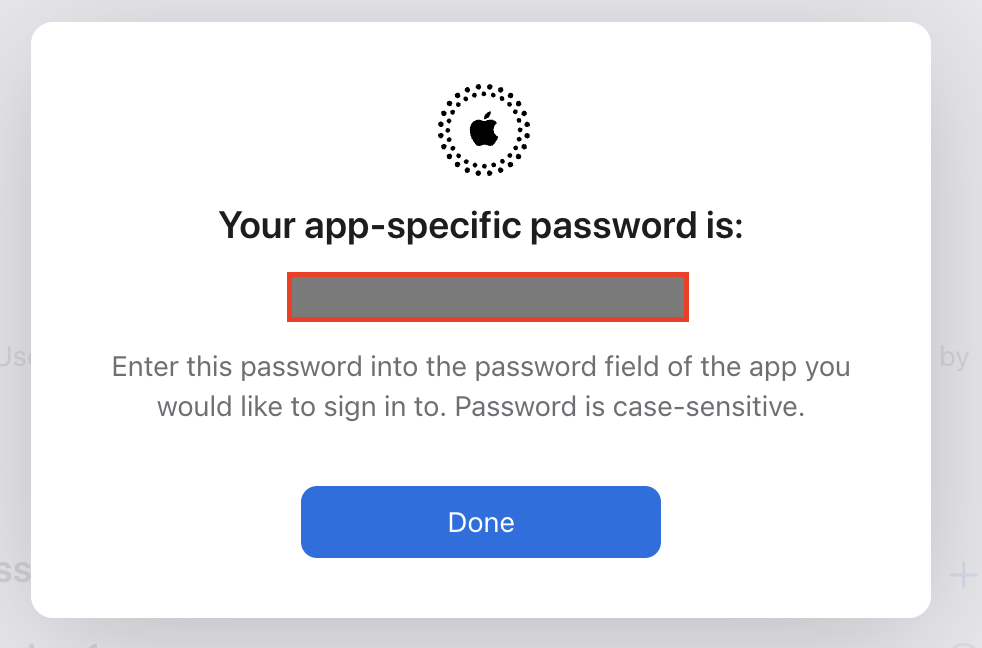
A new App-Specific Password will be generated. Save it in a safe place. We will use this password to notarize our macOS application.
Update Electron build process
Add APPLE_APP_SPECIFIC_PASSWORD, TEAM_ID, and APPLE_ID to GitHub secrets.
Then load up these secrets as environment variables along with others in our
Github Action workflow.
 - name: Publish releases
    env:
      GH_TOKEN: ${{ secrets.GITHUB_TOKEN }}
      AWS_ACCESS_KEY_ID: ${{secrets.AWS_ACCESS_KEY}}
      AWS_SECRET_ACCESS_KEY: ${{secrets.AWS_SECRET}}
      CSC_CONTENT: ${{ secrets.CSC_CONTENT }}
      CSC_KEY_PASSWORD: ${{ secrets.CSC_KEY_PASSWORD }}
      TEAM_ID: ${{ secrets.TEAM_ID }}
      APPLE_ID: ${{ secrets.APPLE_ID }}
      APPLE_APP_SPECIFIC_PASSWORD: ${{ secrets.APPLE_APP_SPECIFIC_PASSWORD }}
    run: |
      echo "$CSC_CONTENT" | base64 --decode > certificate.p12
      export CSC_LINK="./certificate.p12"
      npm exec electron-builder -- --publish always -mwl
At the time of writing this, we encountered issues with the built-in notarize
feature of electron-builder, so we created a custom script to handle the
notarization process.
const { notarize } = require("@electron/notarize");
const { build } = require("../package.json");

const notarizeMacos = async context => {
  const { electronPlatformName, appOutDir } = context;
  if (electronPlatformName !== "darwin") return;
  if (process.env.CI !== "true") {
    console.warn("Skipping notarizing step. Packaging is not running in CI");
    return;
  }

  const appName = context.packager.appInfo.productFilename;
  await notarize({
    tool: "notarytool",
    appBundleId: build.appId,
    appPath: `${appOutDir}/${appName}.app`,
    teamId: process.env.TEAM_ID,
    appleId: process.env.APPLE_ID,
    appleIdPassword: process.env.APPLE_APP_SPECIFIC_PASSWORD,
    verbose: true,
  });
  console.log("--- notarization completed ---");
};

exports.default = notarizeMacos;
The script uses the notarize function from the @electron/notarize package.
It passes the path to the generated .app file during the build process, along
with the required TEAM_ID, APPLE_ID, and APPLE_APP_SPECIFIC_PASSWORD,
which were obtained earlier.
To run the custom notarization script, disable the built-in notarization feature
in the electron-builder configuration. Then, call this script from the
afterSign callback to ensure it runs after the signing process is complete.
"build": {
    "mac": {
      "notarize": false,
      "target": {
        "target": "default",
        "arch": [
          "arm64",
          "x64"
        ]
      },
    },
    "afterSign": "./scripts/notarize.js",
}
Great! We have successfully code-signed and notarized our macOS application. Now, macOS will trust our application, and an added benefit of this process is that it allows us to auto-update our application seamlessly, ensuring that users always have the latest version.
Follow @bigbinary on X. Check out our full blog archive.